One Oxify merchant added an extra $9,000 in revenue from post-purchase upsells alone — at a 12% acceptance rate. No extra ad spend. Just one offer shown at the right moment.
That moment is the one-click post-purchase upsell: an offer that appears right after checkout, before the thank-you page. The customer taps one button, the item joins their order, and their saved card covers the difference. It’s the only sale where you can’t lose — the original order is already done.
This guide walks you through the whole setup, screen by screen, using a real funnel builder. You’ll see exactly what to click, what numbers to use, and the two Shopify rules that quietly break most setups.
What is a one-click post-purchase upsell?
It’s an offer shown on a page between checkout and the thank-you page.
The customer finishes paying. Before the confirmation screen, they see one product. They tap one button to add it. Done.
The key part: there is no second checkout.
- No re-entering card details
- No re-typing the shipping address
- The product is added to the order they just placed
- Their saved payment method is charged the small difference
People also call this a Shopify one-click upsell, a one-click upsell setup, or a post-purchase one-click upsell. Same thing.
Quick example: A shopper buys a yoga mat. Right after checkout, they see a grip towel for 15% off. One tap — it ships with the mat.
Why post-purchase upsells convert so well
Pre-purchase upsells are risky. Push too hard before payment and the customer leaves with nothing. The post-purchase moment removes that risk completely.
Three forces work in your favor:
- Buying momentum. They just bought. Their brain is in “yes” mode.
- Peak trust. They trusted you with their card number. Trust never gets higher.
- Zero friction. One tap. The friction math is brutal — a 4-step add-on flow keeps roughly 6% of interested buyers; a true one-click flow keeps about 50%.
There’s also a hard time limit. A shopper’s willingness to add to an order drops sharply within the first 30 seconds of the offer appearing. That’s the window. Your offer has to land instantly.
The result: well-targeted one-click offers commonly hit 8–15% acceptance rates and lift average order value (AOV) by 10–20%. As proof, one Oxify store reached a 12% acceptance rate and $9,000 in added revenue from this single tactic.
What you need before you start
- An active Shopify store — any plan. You do NOT need Shopify Plus. (More on this myth below.)
- A post-purchase upsell app
- One or two products to offer as add-ons
- About 10 minutes
That’s the whole list.
Do you need Shopify Plus? No — here’s the truth
There’s a common myth that one-click post-purchase upsells are a Shopify Plus feature. They are not.
- Post-purchase page upsells — the page shown between payment and the thank-you page — work on every Shopify plan, Basic included.
- In-checkout upsells — offers placed inside the checkout steps themselves — are Plus-only.
So if your goal is the one-click post-purchase offer (and for most stores it should be), your current plan already supports it. No upgrade needed.
Step 1: Install an upsell app
Shopify has no built-in post-purchase upsell builder — you need an app.
This guide uses Oxify Cart Drawer & Upsells. It’s a Built for Shopify app, 5.0-rated, works on every plan, and handles the whole funnel — cart drawer, product-page upsells, and post-purchase one-click upsells — from one dashboard. Most apps do only one of those.
Install it and open the app from your Shopify admin.
Step 2: Set it as your post-purchase extension (don’t skip this)
This is the step that quietly breaks most setups. Shopify only lets one app own the post-purchase page.
In your Shopify admin:
- Go to Settings → Checkout
- In the search bar, type “Post-purchase page”
- Find the option “Use an app to add features at checkout after payment”
- Select your upsell app from the list
- Save
If you skip this, your offer page will never appear — no matter how perfectly you build the funnel. Do this first.
Step 3: Create a funnel and set your triggers
Inside the app, create a New Funnel. You’ll see two tabs at the top: Triggers and Upsells.
Start with Triggers — this decides who sees the offer. You can show it to:
- Everyone, or
- Only buyers of a specific product, or
- Only orders above a certain value
Triggers keep offers relevant. A phone-case buyer should see a screen protector — not random clearance stock.
Step 4: Build your offers in the Upsells tab

Click the Upsells tab. This is where the funnel comes alive.
You’re not building one offer — you’re building a decision tree:
              UPSELL 1
              /      \
        accepted    declined
           |            |
       UPSELL 2     DOWNSELL 1
        /     \
   accepted  declined
      |          |
  UPSELL 3   DOWNSELL 2
The logic:
- Customer accepts Upsell 1 → they see Upsell 2 (keep the momentum)
- Customer declines Upsell 1 → they see Downsell 1 (a cheaper, easier offer to win them back)
- The accept/decline branch repeats down to Upsell 3 and Downsell 2
A single “no” never ends the funnel. You always have a backup. Most stores set up one offer and stop — building the full tree is what separates a 3% funnel from a 12% one.
One Shopify rule to know: the 2-accept limit
Shopify allows a customer to accept a maximum of two post-purchase offers per order. So don’t try to stack four or five. Put your highest-margin offer first, then a smaller, easier win second. That’s exactly what the upsell/downsell tree above is built around.
Editing a single offer
Click Edit offer on any card. For each upsell you can set:
- The product — your add-on
- Discount — e.g. 15% off, shown as a strikethrough price
- Free shipping — toggle on to sweeten the deal
- Countdown timer — e.g. 5 minutes of urgency
- Device targeting — desktop, mobile, or Both
- Automatic Upsell — let the app auto-pick the best-fit product, or choose manually
A solid starting recipe for each offer: 15% discount + free shipping + 5-minute timer + Both devices. Tune from there.
Step 5: Turn the funnel on and test
At the bottom, flip the Funnel active toggle on and hit Save and next.
Then place a real test order on your own store. Shopify requires the order to be:
- In your store’s main currency
- Over $1 in value
- Paid with a supported credit card (or a test charge)
Walk through checkout and confirm three things:
- The offer page shows up after payment, before “Thank you”
- The Add button works in one tap
- The item lands on the final order
If it works, you’re live.
The one rule everyone gets wrong: the 25% pricing rule
The classic mistake: a store sells an $80 product, then offers a $70 upsell. Nobody takes it — it feels like a second purchase decision.
The fix: price your upsell at 25% or less of the original order value.
- $80 order → offer something around $20
- $40 order → offer something around $10
At that price, the offer feels like a small bonus, not a commitment. It’s an easy “yes.” If you must offer a pricier item, use a deeper discount and make the savings huge and obvious.
What makes a high-converting offer page
The post-purchase window is measured in seconds, not minutes. Build each offer to be understood in one glance:
- One clean product photo on a plain background
- The discounted price as the biggest number, original price struck through beside it
- One sentence of copy — “Pairs perfectly with your [product]” — not a paragraph
- Clear button wording — “Add to My Order” beats “Buy Now.” It frames the action as extending an order, not starting a new one
- Mobile-first design — most post-purchase views happen on phones
How much extra revenue can you expect? (worked example)
Here’s the math on a store doing 1,000 orders a month, with a $20 average upsell:
- At a 3% acceptance rate → $600/month extra
- At an 8% acceptance rate → $1,600/month extra
- At a 12% acceptance rate (the rate one Oxify merchant hit) → $2,400/month extra
That’s $28,800 a year in incremental revenue at 12% — with zero added ad spend. It’s the same traffic you already paid for, simply earning more. This is why post-purchase upsells are considered non-optional for profitable Shopify stores.
Does this mess up order fulfillment?
Mostly no — with one caveat.
When a customer accepts an upsell, the item is appended to the original order before fulfillment is triggered. Your warehouse sees one order with both items.
The caveat: if you fulfill orders within seconds of the sale, an accepted upsell could land after the warehouse pulled the order. For most stores this never happens. If it applies to you, add a short fulfillment delay.
One-click upsell vs. thank-you page upsell
These two get confused constantly:
- One-click post-purchase upsell — shown on a dedicated page between payment and the thank-you page. One tap, no card re-entry. Highest conversion.
- Thank-you page upsell — shown on the order-confirmation page. Depending on setup, the customer may have to go through checkout again — adding friction.
For frictionless conversion, prioritize the post-purchase page offer.
Where the post-purchase upsell fits in your funnel
A post-purchase offer is one stage of a bigger picture. Stores that win stack offers across the journey:
| Stage | Offer type |
|---|---|
| Product page | Frequently bought together, volume discounts |
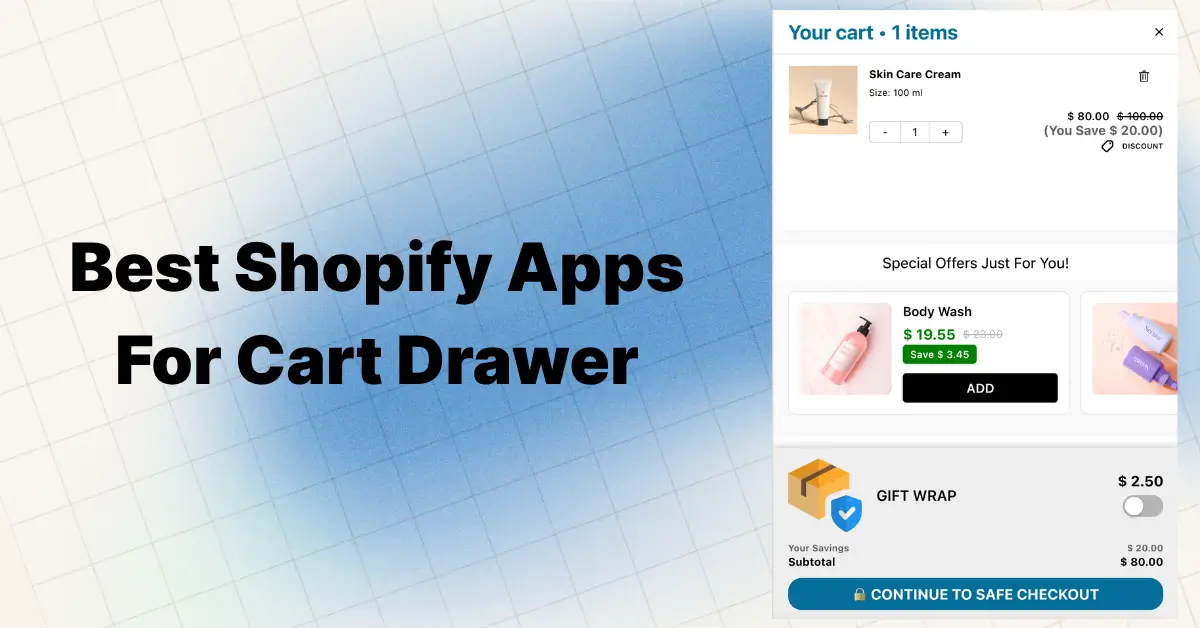
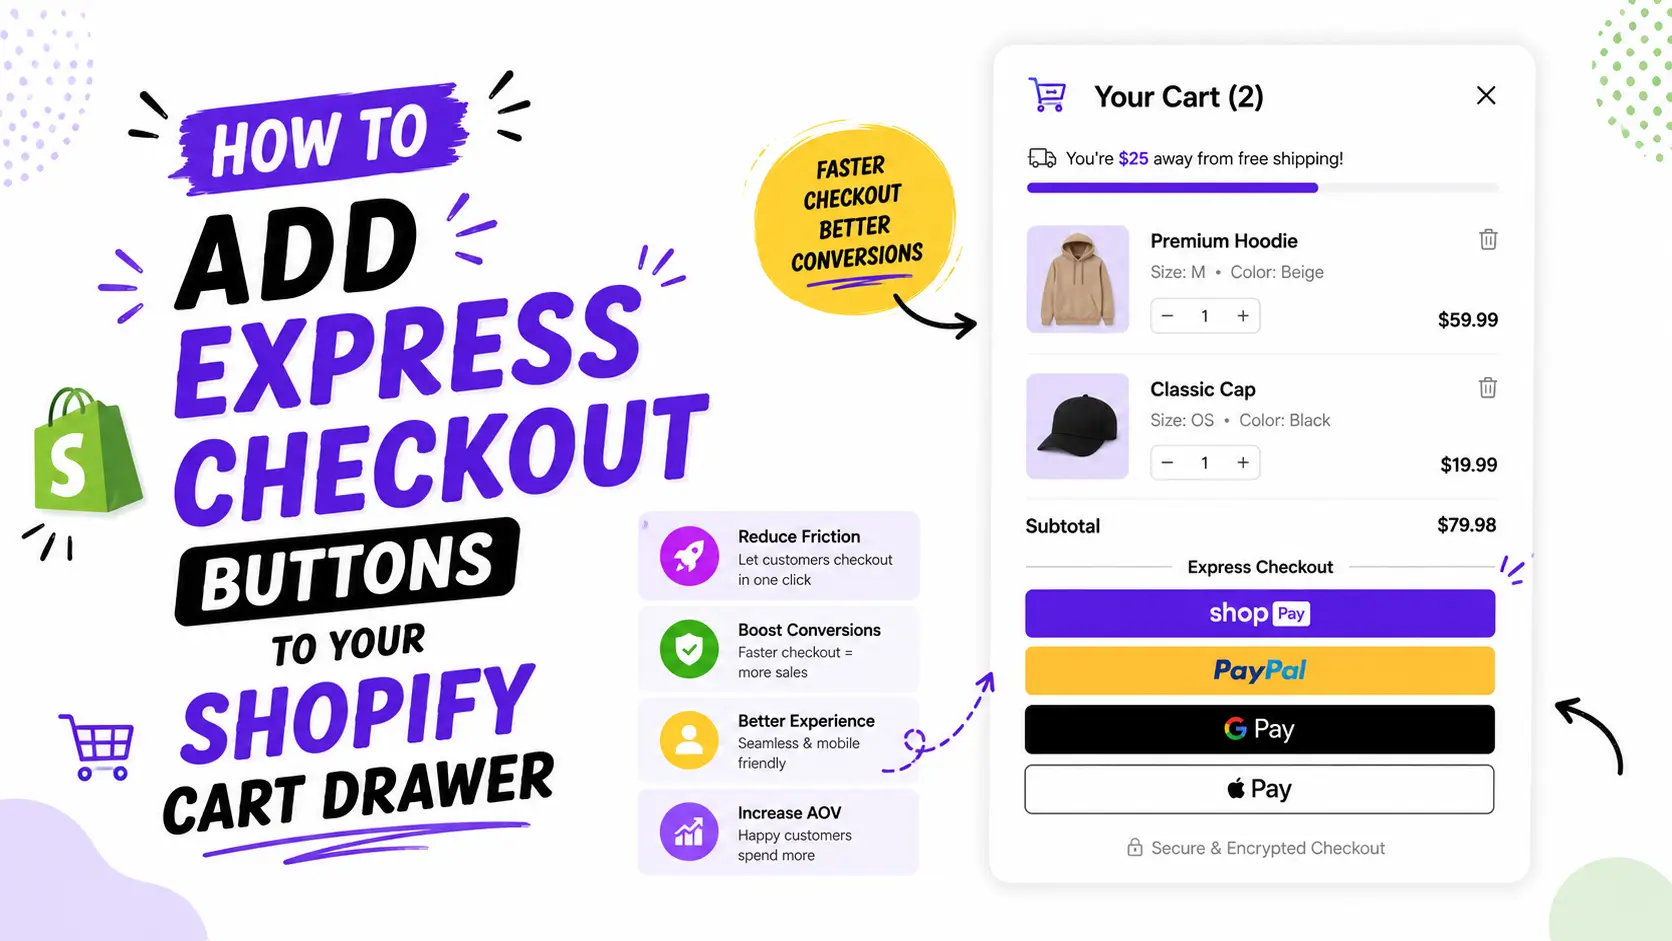
| Cart drawer | In-cart upsells, free shipping bar, free gifts |
| Checkout | Order bumps (Shopify Plus) |
| Post-purchase | One-click upsell funnel |
| Thank-you page | Cross-sells, reorder offers |
Start with the cart and the post-purchase funnel — the two highest-leverage spots — then add the rest as you measure. A single funnel app is simpler than juggling five tools. Oxify Cart Drawer & Upsells runs the cart drawer, product-page upsells, frequently bought together, free gifts, and post-purchase one-click upsells from one dashboard.
Common mistakes to avoid
- Only building one offer. Build the full accept/decline tree. A single “no” shouldn’t end the funnel.
- Forgetting Step 2. If the post-purchase extension isn’t selected in Settings, your offer never shows.
- Irrelevant products. Use triggers so the offer complements what they bought.
- Walls of text. One line, one price, one button.
- Pricing the upsell too high. Stay at or under 25% of order value.
- Never testing. Always place a test order.
Frequently asked questions
Do I need Shopify Plus for one-click post-purchase upsells?
No. The post-purchase page method works on all standard Shopify plans. Plus is only needed for upsells inside the checkout itself.
What conversion rate is realistic for a post-purchase upsell?
Industry benchmarks land at 8–15% for well-targeted offers. One Oxify merchant reached 12%, adding $9,000 in revenue from post-purchase upsells alone.
Will upsells annoy my customers?
Not if the offer is relevant and low-friction. The order is already complete, so it feels like a bonus, not a sales pitch.
What’s the difference between an upsell and a downsell?
An upsell is shown after a customer accepts an offer (a step up). A downsell is shown after they decline — usually a cheaper or easier offer to win back the sale.
How many offers can I show?
Shopify allows a maximum of two accepted post-purchase offers per order. Build a tree with your best offer first, but never stack more than one on screen at a time.
Can the upsell be a free gift instead of a paid product?
Yes. Many apps let you offer a free or discounted gift to drive loyalty instead of revenue.
Start earning more from orders you already have
A one-click post-purchase upsell is one of the simplest, lowest-risk ways to grow Shopify revenue. You’re not spending more on ads — you’re earning more from buyers who already trust you. One Oxify store turned this single tactic into $9,000 in extra revenue.
The essentials: install an app, set it as your post-purchase extension, build the full accept/decline funnel, follow the 25% pricing rule, keep each page simple, and test before launch.
Ready to set yours up? Install Oxify Cart Drawer & Upsells — a Built for Shopify, 5.0-rated app with a full post-purchase upsell funnel builder, cart-drawer upsells, and frequently bought together, all in one tool. Start the free trial and turn your checkout into your highest-converting upsell spot.