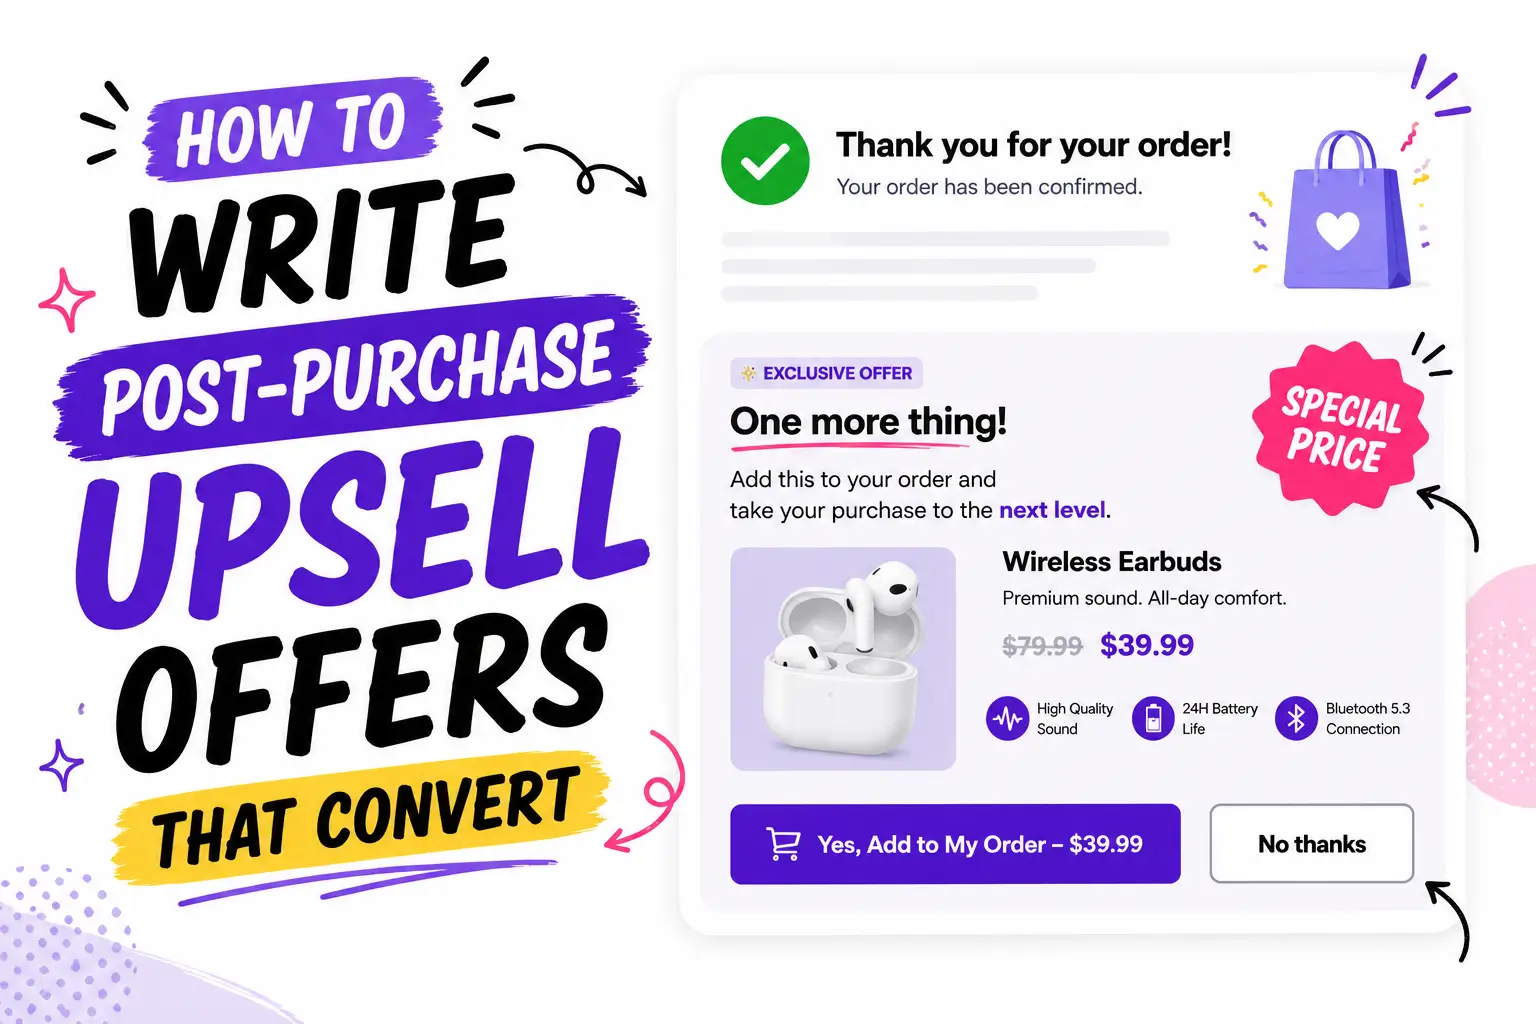
Your default Shopify cart drawer is leaving money on the table — no upsells, no free shipping bar, no brand colors that actually match your store. The good news: you can fix all of that in under 10 minutes, and you don’t need a developer to do it.
This guide walks you through all 3 ways to customize your Shopify cart drawer in 2026 – using an app, the built-in theme editor, or custom code — with step-by-step instructions, screenshots, and ready-to-paste code snippets for each.

Quick Summary
- 3 ways to customize your Shopify cart drawer: install a cart drawer app (10 min, no code, full features), use Shopify’s built-in theme editor (5 min, free, basic only), or write custom Liquid + CSS code (30+ min, full control, requires dev skills).
- App method wins for 9 out of 10 stores — fastest setup, full feature set (upsells, free shipping bar, BOGO, trust badges), zero theme-breaking risk.
- Theme editor method works only for basic tweaks — switching the cart on/off and changing global colors. No upsells, no free shipping bar, no BOGO.
- Code method gives pixel-perfect control but requires Liquid, CSS, and JS skills. Includes ready-to-paste snippets in this guide.
- Highest-ROI customization in any cart drawer: a free shipping bar. Add it first, regardless of method.
Quick Answer
You can customize your Shopify cart drawer in 3 ways:
- Cart drawer app — 10 min, no code, full features (recommended for most)
- Shopify theme editor — 5 min, free, basic only
- Custom Liquid + CSS code — 30+ min, full control, requires dev skills
This guide walks through all three, shows you the exact settings and code, and helps you pick the right path. By the end, you’ll know how to make your cart match your brand, boost AOV, and convert better — whether you have a $0 budget or a developer on retainer.
Let’s get into it.
What Is a Shopify Cart Drawer (and Why It Matters)
A Shopify cart drawer (also called a slide cart or mini cart) is a side panel that slides in when a shopper clicks the cart icon or adds a product. Instead of redirecting them to a separate /cart page, the drawer shows their items, totals, and checkout button right there.
Why it matters:
- Keeps shoppers in flow — no page reload, no lost browsing momentum
- Lower cart abandonment — friction is the #1 killer, drawers reduce it
- Better mobile UX — drawers are designed for thumb navigation
- Higher AOV — drawers can host upsells, free shipping bars, and bundles
For a deeper breakdown of when a drawer beats a full cart page, see cart drawer vs cart page. And if you’re confused about the different drawer types, here’s slide cart vs mini cart.
Which Customization Method Should You Pick?
Before you start clicking, decide which path fits your situation:
| Method | Time | Cost | Skill Needed | Best For |
|---|---|---|---|---|
| Method 1: Cart App | 10 min | $0–$80/mo | None | Stores wanting upsells, free gifts, BOGO, full design control |
| Method 2: Theme Editor | 5 min | Free | None | Tiny tweaks (drawer on/off, basic colors) |
| Method 3: Custom Code | 30+ min | Free | Liquid/CSS/JS | Devs who want pixel-perfect control |
Quick rule of thumb:
- If you want sales features (upsells, free shipping bar, BOGO) → Method 1
- If you only need to enable the drawer or change one or two basic colors → Method 2
- If you have a dev and need pixel-perfect tweaks → Method 3
For 9 out of 10 stores, Method 1 wins — more features, faster setup, zero theme-breaking risk. But let’s cover all three properly so you can decide.
Method 1: Customize Your Cart Drawer With a Cart App (Recommended)
This is the fastest, most powerful, no-code path. You install a cart drawer app, click through a visual editor, and you’re live in 10 minutes — with upsells, free shipping bars, trust badges, and full brand customization included.
There are several good cart drawer apps out there (here’s our honest comparison of the best ones). For this walkthrough, we’ll use Oxify Cart Drawer & Upsells because it’s the one we build, and the screenshots match what you’ll actually see.
The same 7 steps apply to any modern cart app — only the UI labels change.
Step 1: Pick a Color Template
Open the Design tab. You’ll see 12 ready-made color circles — purple, blue, sky blue, green, brown, red, beige, black, pink, orange, and more.
Click one and your entire cart re-skins instantly. Background, buttons, text — everything updates.
This single click saves you 20 minutes of hex-code guessing.

Step 2: Set Your Brand Colors Manually
If none of the templates match your brand, drop in your hex codes under Cart Global Design:
- Cart background color — usually
#ffffff(white) or your brand off-white - Button background color — your primary CTA color (make it pop)
- Button text color — usually
#FFFFFF(white) or black for contrast - Title bar text color —
#1a1a2eworks for most stores
Pro tip from running 100+ Shopify stores: your “Secure Checkout” button should be the loudest element on the entire page. If shoppers can’t find it in 1 second, you’re losing them.
Step 3: Choose Title Type — Text or Logo
Under the Title Section, pick:
- Text — something like
Your cart • {{cart_quantity}} items(the dynamic variable updates the count automatically) - Brand Logo — upload your logo for a more premium feel
Logos work better for skincare, fashion, and luxury. Text works better for grocery, supplements, and high-volume stores. Test both for 7 days each and check your AOV.
Step 4: Adjust Button Radius and Font Size
Tiny details that change the whole vibe:
- Button radius 0 — sharp, modern, masculine (think tech, gym, or streetwear)
- Button radius 8 — balanced (the default that works for most stores)
- Button radius 24+ — soft, friendly, beauty/wellness feel
- Font size 14–16 — compact carts (more items visible)
- Font size 17–20 — spacious carts (easier mobile reading)
Step 5: Turn On the Sales Boosters
This is where AOV jumps. In the left sidebar, toggle on:
- Upsells — show 1–3 related products under the cart items (full upsell strategy guide)
- Upsells with Discount — same, but with an “Add for $5 off” hook
- Volume Discount — “Buy 2 save 10%, buy 3 save 20%”
- Add Ons — gift wrap, shipping protection, warranties
- Rewards — free shipping bar or free gift progress meter
- Discount Codes — let shoppers paste codes inside the cart (here’s why this boosts conversion)
Don’t switch all of them on day one. Start with Upsells and Rewards (free shipping bar). Those two alone usually lift AOV 8–15% within the first month.
Step 6: Add Trust Elements
Toggle on:
- Trust Badges — secure checkout, money-back, verified payments (see the 7 badges that move the needle)
- Announcements — “Free shipping over $50” or “Orders ship same day”
- Additional Notes — let shoppers add gift messages
- Countdown Timer — “Order in the next 14:32 to ship today”
These reduce checkout anxiety. Even a small 🔒 lock icon next to the secure checkout button measurably improves conversion in our internal data.
Step 7: Preview on Mobile and Save
Over 70% of Shopify traffic is mobile. Toggle the preview to mobile view, scroll through the cart, and check:
- Is the checkout button thumb-reachable (bottom 1/3 of the screen)?
- Are upsell images crisp on small screens?
- Is the close icon (×) visible against your background?
- Is the font readable without zooming?
- Does the cart take up 90–95% of mobile screen width?
Once it looks good, hit save. Done.
Total time: 10 minutes. Total skill needed: zero.
Method 1: Pros and Cons
Pros:
- Live in 10 minutes with zero code
- Full feature set out of the box: upsells, free shipping bar, BOGO, trust badges, countdown timer
- Visual editor with live preview — see changes instantly
- Updates automatically — no maintenance when Shopify or your theme updates
- Mobile-responsive by default
- Built-in analytics on cart performance
- A/B testing without touching code
- Customer support if something breaks
Cons:
- Monthly subscription cost ($0–$80/mo depending on app and plan)
- Learning curve for advanced features (upsell rules, segmentation)
- Some apps add minor page weight (pick “Built for Shopify” certified apps to avoid this)
- Limited by what the app’s UI exposes — extreme custom needs may still require Method 3
Method 2: Customize Your Cart Drawer Using Shopify’s Theme Editor
If you don’t want to install an app and you’re okay with basic customization only, Shopify’s built-in theme editor lets you do simple tweaks for free. This works for most Online Store 2.0 themes (Dawn, Sense, Craft, Refresh, Studio, Origin, Ride, Horizon).
Important: This method only works if your theme already supports a cart drawer. If you’re on an older theme or a custom theme without drawer support, skip to Method 3.
Step 1: Switch From Cart Page to Cart Drawer

Most stores start with the default cart page. To switch to a drawer:
- From your Shopify admin, go to Online Store → Themes
- Find your active theme and click Customize
- In the customizer, click the gear icon (Theme Settings) at the bottom of the left sidebar
- Look for the Cart section
- Under Cart type, select Drawer (instead of Page or Modal)
- Click Save
That’s it. Your cart will now slide in from the side instead of redirecting.
Step 2: Adjust Basic Cart Drawer Colors
Still in Theme Settings:
- Click Colors in the left sidebar
- Find the color scheme your cart uses (usually “Background 1” or “Inverse”)
- Change:
- Background color
- Text color
- Button background and text colors
- Save
Note: Shopify’s theme editor changes colors globally — meaning your cart drawer colors are tied to the same scheme as other parts of your store. If you want cart-only color control, you need Method 1 or 3.
Step 3: Edit Cart Drawer Typography
Under Theme Settings → Typography:
- Headings font — affects the cart title
- Body font — affects product names, prices, totals
- Font size scale — slider that bumps everything up or down
Again, these changes apply store-wide, not cart-only.
Step 4: Toggle Built-In Cart Features
Some Shopify themes (especially newer ones like Horizon and Studio) include basic cart features in the theme editor:
- Show vendor name under product
- Show product type
- Cart note field (let shoppers add order notes)
- Currency code display
- Order notes character limit
Open the cart drawer section in the customizer, scroll through the available toggles, and switch on what you need.

Step 5: Add a Free Shipping or Announcement Bar (If Supported)
A handful of premium themes (Impulse, Symmetry, Prestige) include a built-in cart goal bar or free shipping progress bar. If yours does:
- Find the Cart section in the theme customizer
- Look for “Free shipping bar” or “Cart goal”
- Set your threshold (e.g., $50 for free shipping)
- Customize the message and progress bar color
- Save
If your theme doesn’t include this feature natively, you’ll need Method 1 or Method 3.
What You CAN’T Do With the Theme Editor
Be honest about the ceiling. The native theme editor cannot:
- Add cart upsells or product recommendations
- Show “You may also like” sections in the cart
- Add volume discount tiers (Buy 2 Save 10%, etc.)
- Display BOGO offers inside the cart
- Add countdown timers
- Show trust badges inside the drawer
- Add gift wrap or shipping protection add-ons
- Display post-purchase upsells
- Customize the cart independently of your theme colors
If you need any of those, Method 1 or 3 is your only option.
Total time: 5 minutes. Total skill needed: zero. Limitation: basic only.
Method 2: Pros and Cons
Pros:
- 100% free — no app subscription
- Native to Shopify — zero performance impact
- 5-minute setup
- No code knowledge needed
- No risk of theme-breaking changes
- Settings persist through normal theme updates
- Works with any Shopify 2.0 theme that supports drawers
Cons:
- Extremely limited — basic colors and typography only
- No upsells, free shipping bar, BOGO, or trust badges
- Color changes apply globally, not just to the cart
- No mobile-specific controls
- Can’t add countdown timers, gift wrap, or add-ons
- Won’t work on older themes or custom themes without native drawer support
- No analytics on cart performance
- No A/B testing capability
Method 3: Customize Your Cart Drawer With Custom Liquid + CSS Code
This method gives you total pixel-level control but requires comfort with Liquid templating, CSS, and ideally JavaScript. Always duplicate your theme before editing code — one missing tag can break your whole storefront.
Step 1: Locate Your Cart Drawer File
- Go to Online Store → Themes
- Click Actions → Edit code on your active theme
- In the left file tree, look under Sections for one of:
cart-drawer.liquidmini-cart.liquidcart-notification.liquid(Dawn theme)
- Open the file
If you don’t see any of these, your theme may not have a built-in drawer. You’ll need to create one (which is a much bigger job — better to switch themes or use Method 1).
Step 2: Customize Cart Drawer Width and Position
Find your theme’s CSS file under Assets (usually base.css, theme.css, or application.css). Add this at the bottom:
/* Cart drawer width */
.cart-drawer,
.drawer__inner,
cart-drawer {
  max-width: 480px !important;
  width: 100% !important;
}

/* Cart drawer slides in from right */
.cart-drawer {
  right: 0;
  left: auto;
}

/* Mobile: full width */
@media screen and (max-width: 768px) {
  .cart-drawer,
  .drawer__inner {
    max-width: 100% !important;
  }
}
Replace .cart-drawer with whatever class your theme uses (inspect the cart in your browser to find it).
Step 3: Style the Cart Drawer Background and Text
/* Cart drawer background */
.cart-drawer {
  background-color: #ffffff;
  color: #1a1a2e;
  padding: 24px;
}

/* Cart title */
.cart-drawer__title,
.drawer__heading {
  font-size: 18px;
  font-weight: 600;
  color: #1a1a2e;
  text-align: left;
}

/* Product names */
.cart-item__name {
  font-size: 15px;
  font-weight: 500;
}

/* Product prices */
.cart-item__price {
  color: #1a1a2e;
  font-weight: 600;
}
Step 4: Customize the Checkout Button
.cart__checkout-button,
button[name="checkout"] {
  background-color: #000098;
  color: #ffffff;
  border-radius: 8px;
  padding: 16px 24px;
  font-size: 16px;
  font-weight: 600;
  width: 100%;
  border: none;
  cursor: pointer;
  transition: background 0.2s ease;
}

.cart__checkout-button:hover {
  background-color: #0000cc;
}
Step 5: Add a Free Shipping Bar (Liquid + CSS)
In your cart-drawer.liquid file, find where the cart total is rendered and add this above it:
{% assign threshold = 5000 %}
{% assign remaining = threshold | minus: cart.total_price %}

<div class="free-shipping-bar">
  {% if cart.total_price >= threshold %}
    <p>🎉 You unlocked FREE shipping!</p>
  {% else %}
    <p>Add {{ remaining | money }} more for FREE shipping</p>
    <div class="progress-bar">
      <div class="progress-fill" style="width: {{ cart.total_price | times: 100 | divided_by: threshold }}%"></div>
    </div>
  {% endif %}
</div>
Then add the CSS:
.free-shipping-bar {
  text-align: center;
  padding: 12px;
  background: #f5f5f5;
  border-radius: 8px;
  margin-bottom: 16px;
}

.progress-bar {
  height: 6px;
  background: #e0e0e0;
  border-radius: 3px;
  overflow: hidden;
  margin-top: 8px;
}

.progress-fill {
  height: 100%;
  background: #000098;
  transition: width 0.3s ease;
}
Threshold is in cents (5000 = $50.00).
Step 6: Add Trust Badges Manually
Above the checkout button in cart-drawer.liquid:
<div class="cart-trust-badges">
  <img src="{{ 'badge-secure.png' | asset_url }}" alt="Secure checkout" width="40">
  <img src="{{ 'badge-refund.png' | asset_url }}" alt="Money back" width="40">
  <img src="{{ 'badge-shipping.png' | asset_url }}" alt="Fast shipping" width="40">
</div>
Upload your badge PNG files to Assets first.
Step 7: Test Thoroughly
After every change, test:
- Add to cart → drawer opens smoothly
- Remove items → totals update
- Adjust quantity → AJAX works
- Mobile view (resize browser to 375px width)
- Different products and variants
- Empty cart state
If anything breaks, revert your changes from the Older versions dropdown in the theme code editor.
Total time: 30+ minutes per feature. Skill needed: Liquid, CSS, and ideally JS.
Method 3: Pros and Cons
Pros:
- Total pixel-level control — every element exactly as you want
- No app subscription cost
- Cart is yours forever — no vendor lock-in
- Lightweight and fast if coded clean
- Can build custom features no app supports
- Direct integration with your theme’s design system
Cons:
- Requires Liquid, CSS, and JS skills
- 30+ minutes per feature, plus testing time
- Theme updates can overwrite your custom code (always duplicate first)
- One missing tag can break your storefront
- No customer support — you’re on your own when bugs hit
- No built-in analytics, A/B testing, or upsell logic
- Adding upsells/free gifts/BOGO requires significant dev work
- Maintenance burden grows with every Shopify platform update
Troubleshooting Common Cart Drawer Issues
Even with the best setup, things go wrong. Here’s how to fix the most common cart drawer problems across all three methods.
Issue 1: Cart Drawer Won’t Open
Symptoms: Click the cart icon, nothing happens.
Likely causes:
- JavaScript conflict between two apps (e.g., a cart app + a slide-cart from your theme both trying to control the same icon)
- Cart drawer is disabled in theme settings
- Custom code has a syntax error blocking the JS
Fix:
- Open your store in an Incognito window and check the browser console (F12 → Console tab) for red errors
- Disable apps one by one to find the conflict
- If you installed a cart drawer app, go to Online Store → Themes → Customize → App embeds and confirm only ONE cart drawer is enabled
- If you used custom code, check for missing closing tags in
cart-drawer.liquid
Issue 2: Cart Items Don’t Update Quantity
Symptoms: Click + or -, nothing changes. Or the cart total doesn’t reflect the new quantity.
Likely causes:
- AJAX request is failing
- Custom code is not using Shopify’s cart endpoints correctly
- Caching issue
Fix:
- Hard refresh the page (Cmd+Shift+R / Ctrl+Shift+F5)
- Check the browser console for failed network requests to
/cart/change.jsor/cart/update.js - If using custom code, make sure your fetch calls hit
/cart.js(read) or/cart/change.js(update) - If using an app, contact support with the console error
Issue 3: Cart Drawer Looks Broken on Mobile
Symptoms: Drawer extends past the screen, items overlap, checkout button is cut off, or close icon disappears.
Likely causes:
- Missing or wrong mobile breakpoints in CSS
- Drawer width set in pixels instead of percentage
- Padding/margin overflow
Fix:
- Open the page on a real phone (browser dev tools mobile view isn’t always accurate)
- Add this CSS as a safety net:
@media screen and (max-width: 768px) { .cart-drawer { max-width: 100% !important; } .cart__checkout-button { position: sticky; bottom: 0; }} - Check that no parent container has
overflow: hiddenclipping the drawer - If using an app, look for a “mobile preview” toggle in the editor and verify there
Issue 4: Cart Drawer Slows Down My Store
Symptoms: Page Speed Insights score drops after enabling cart customizations. Cart icon takes 1+ second to respond.
Likely causes:
- App loading too many scripts
- Multiple cart apps installed
- Custom code with heavy JavaScript libraries
Fix:
- Run a Lighthouse audit before and after to confirm the source
- If you have multiple cart apps, uninstall all but one
- Choose apps with the “Built for Shopify” badge — these are performance-tested by Shopify
- If using custom code, defer JS until after page load:
<script defer src="{{ 'cart-drawer.js' | asset_url }}"></script> - Compress and lazy-load any custom images inside the cart
Issue 5: Two Cart Drawers Showing at Once
Symptoms: Two drawers open on top of each other, or items appear in one but not the other.
Likely causes:
- Theme has a built-in drawer AND you installed an app
- Two cart apps installed
- Old code from a previous app wasn’t fully removed
Fix:
- Go to Online Store → Themes → Customize → App embeds and disable any extra cart drawer toggles — only keep the one you’re using
- Go to Theme Settings → Cart and switch cart type to Page if you’re using an app drawer (the app handles the drawer, the theme just feeds the cart data)
- If you previously uninstalled a cart app, check
theme.liquidfor leftover<script>or<div>references and remove them
Issue 6: Theme Updates Broke My Custom Code
Symptoms: Cart drawer customizations disappeared or broke after a theme update.
Likely causes:
- Theme update overwrote your edited
cart-drawer.liquidandtheme.css - New theme version uses different class names
Fix:
- This is exactly why you should duplicate your theme before editing code
- Restore your previous version from Online Store → Themes → Older versions (Shopify keeps a backup automatically)
- Going forward: keep all custom CSS in a separate file (
custom.css) and reference it intheme.liquidso updates don’t overwrite it - Better long-term solution: switch to Method 1 (app), which lives outside theme files and survives all theme updates
5 Customization Mistakes That Tank Conversion (All 3 Methods)
Things we see merchants get wrong every single week, regardless of method:
- Using neon or trendy colors that fight your brand — your cart should feel like a continuation of your store, not a different planet
- Cramming 6 upsells into one cart — 1 to 3 max, otherwise the cart looks like a flea market
- Making the checkout button the same color as the cart background — happens more than you’d think (it’s a conversion killer)
- Forgetting the close icon color — if shoppers can’t find the × on a dark theme, they bounce
- Skipping the free shipping bar — this is the highest-ROI element in any cart drawer, and 60% of merchants skip it
Mobile-First Customizations Most Stores Forget
Mobile is where most carts get abandoned. Five settings to lock in regardless of method:
- Sticky checkout button — always visible at the bottom even when scrolling cart items
- Tap-friendly quantity selectors —
+/-buttons should be at least 44×44px (Apple’s HIG minimum) - Compact upsell cards — single column, large product image, one-tap “ADD” button
- Minimal font weight — bold headers, regular body, no italics (italics kill mobile readability)
- One CTA color — only the checkout button should pop; everything else is secondary
Hidden Customizations Most Stores Miss
Sections that get overlooked but quietly add revenue:
- Custom HTML & CSS slot — for that one weird tweak you can’t get elsewhere (a “Made in [country]” tag, a special font, a referral link)
- Empty Cart state — what shows when the cart is empty? A bored “Your cart is empty” message, or a “Here’s what’s trending this week →” hook with a collection link?
- Subscription Upgrades — if you sell consumables, a one-tap “Subscribe & save 15%” toggle inside the cart converts way better than a separate page
- Split Payments — show Shop Pay Installments or Klarna right in the cart, not just at checkout
- Cart abandonment recovery — if a shopper closes the drawer without checking out, here’s how to recover them
Which Customization Should You Do First?
If you only have 30 minutes today, do these in order:
- Switch on the cart drawer (Method 2, Step 1) — if you’re still on a cart page, this alone improves UX
- Match your brand colors (Method 1 Step 2 OR Method 2 Step 2)
- Add a free shipping bar — highest-ROI element, period
- Turn on 1-2 upsells — start small, see what converts
- Add trust badges near the checkout button
Skip everything else until those five are live and tested.
Why Oxify Cart Drawer & Upsells Is Built For This
If you’ve decided Method 1 (the app route) is right for you, here’s the pitch.
Oxify Cart Drawer & Upsells is “Built for Shopify” certified, has a 5.0 rating, and runs $19.99–$79.99/mo with a free trial.
What’s in the box:
- 12 pre-built color templates (skip the design step entirely)
- Side and center title alignment
- Text or brand logo title
- Slide cart, sticky cart, and floating cart options
- Cart upsells, FBT (Frequently Bought Together), and AI recommendations
- Free shipping bar, free gifts, BOGO, volume discounts
- Countdown timer, trust badges, announcement bar
- Product page upsells and addons
- Post-purchase upsell funnel
- Shipping protection and subscriptions
- Custom HTML & CSS slot for advanced tweaks
- Drag-and-drop editor with live preview
- Works with all Shopify 2.0 themes (Dawn, Sense, Craft, Horizon, Studio, and 100+ more)
If you want to compare it against other apps before deciding, here’s our honest breakdown of the best Shopify cart drawer apps in 2026.
👉 Try Oxify Cart Drawer & Upsells free →
FAQs
Can I customize my Shopify cart drawer without an app?
Yes — partially. Shopify’s theme editor lets you switch on the drawer and change basic colors and fonts (Method 2 above). But for upsells, free shipping bars, volume discounts, trust badges, and countdown timers, you’ll need either custom code (Method 3) or a cart drawer app (Method 1).
Will customizing the cart drawer slow my store down?
Not if done right. Apps with the “Built for Shopify” badge have been performance-tested by Shopify. Custom code is only fast if it’s clean — bloated CSS or JavaScript can hurt your Core Web Vitals.
Do these customizations work on mobile?
Yes. All three methods support responsive cart drawers. With Method 1 (apps), you can preview mobile view inside the editor. With Methods 2 and 3, always test on a real phone before going live.
Can I A/B test different cart designs?
Yes — manually. Change a setting, save, run for 7 days, check AOV in your analytics, revert if it tanked. Some apps include built-in A/B testing; theme editor and code methods require manual swaps.
What’s the difference between a cart drawer and a cart page?
A cart drawer slides in from the side without a page reload. A cart page is a separate URL the shopper navigates to. Drawers convert better because they keep shoppers in their browsing flow. Full comparison here.
Does my Shopify theme support a cart drawer?
Most Online Store 2.0 themes do — Dawn, Sense, Craft, Refresh, Studio, Origin, Ride, and Horizon all have built-in drawer support. Older themes and some custom themes may not. Cart apps (Method 1) work even if your theme doesn’t have native drawer support.
Will updating my theme break my cart drawer customizations?
Method 1 (app): No — apps live outside theme files. Method 2 (theme editor): Maybe — settings sometimes reset on major theme updates. Method 3 (code): Yes — theme updates often overwrite custom code. Always duplicate your theme before editing.
What to Do Next
You don’t need to finish everything in one sitting. Pick one customization and ship it today.
If your cart doesn’t have a free shipping bar yet, start there. It’s the single highest-ROI change you can make in 5 minutes.
Then come back next week and add upsells. Then volume discounts. Compounded over a quarter, these tweaks routinely lift AOV by 20–30% with zero ad spend.
If you’re going the app route, install Oxify Cart Drawer & Upsells free and customize your cart in under 10 minutes.
If you’re going the code route, duplicate your theme first, test every change on mobile, and use the snippets above as your starting point.
Either way, your cart drawer is the most underleveraged conversion surface in your store. Fix it now.